Whoever invited chalk paint is brilliant. NO sanding OR priming is involved! Makes for a quick transformation to any piece of furniture. That being said here is what I found using it.
Pro: Dries quickly, 30-45 min between each coat, (like I mentioned) no sanding or priming.
Con: The coating is very think and heavy, leaves brush marks, and a little more on the pricy side.
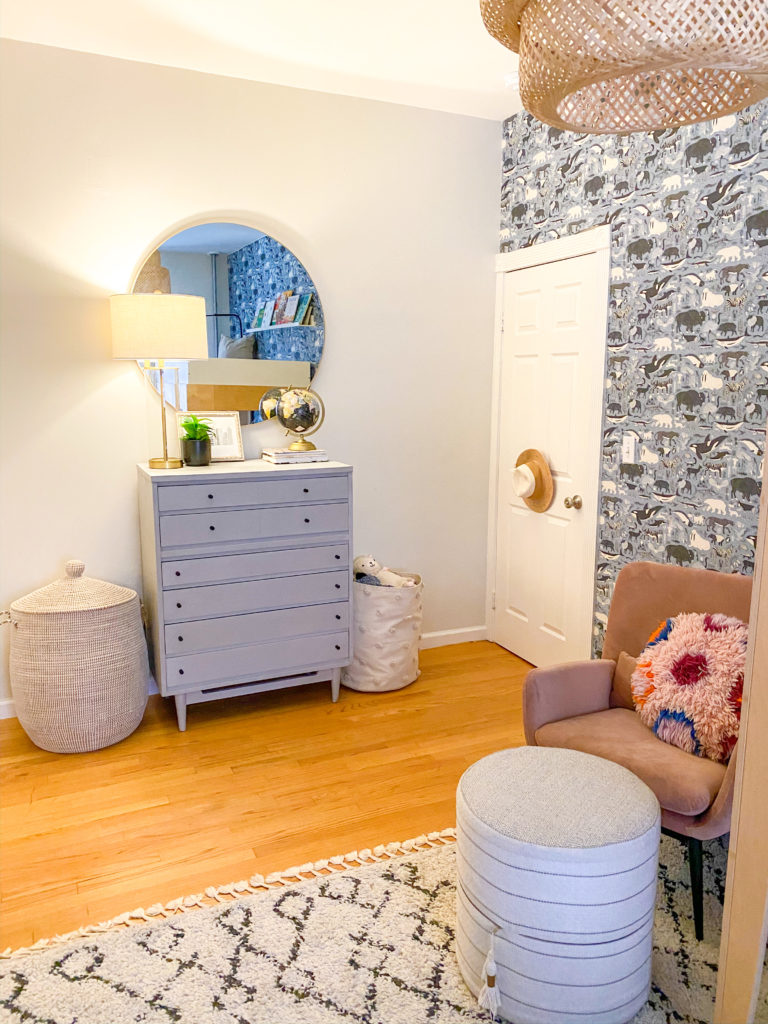
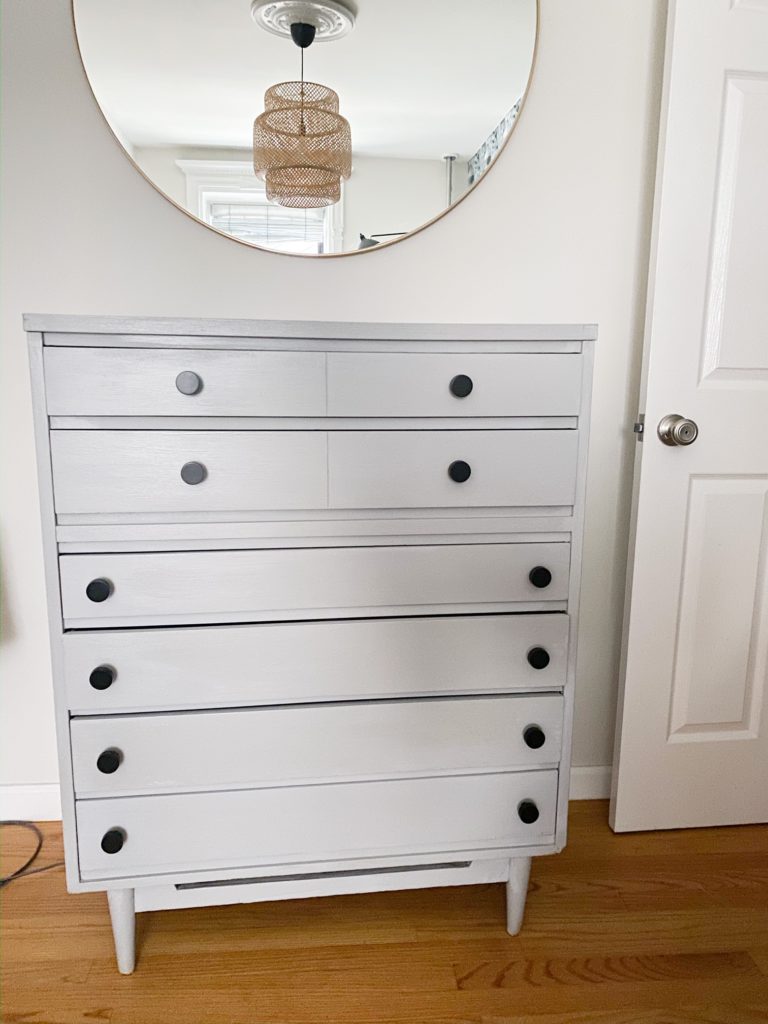
Overall we are happy with it because for an indoor paint project it was done in a few hours and this room isn’t super well lit so you can’t really see the imperfections such as the paint brush marks. If you’re a paint perfectionist I would not recommend this, but if you’re looking for a quick easy solution to make over a piece of furniture this will be right up your alley! This piece of furniture is laminate so it would have been a huge pain to try and paint it other wise.
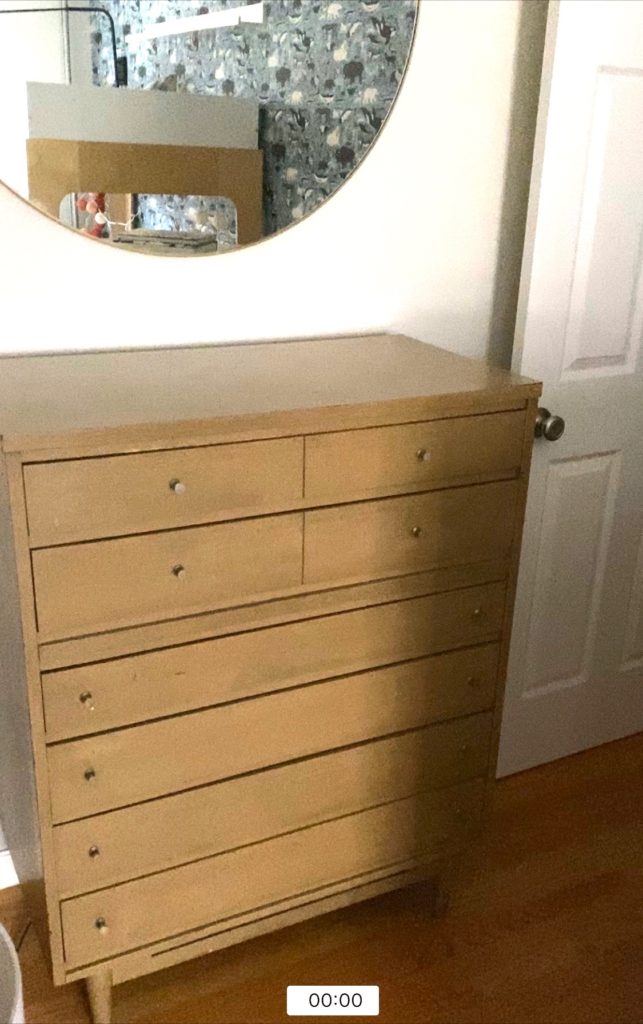
The BEFORE of this dresser that I found from Facebook market place. It was listed for $350 and I negotiated the price down to $140. Not bad for a vintage piece.
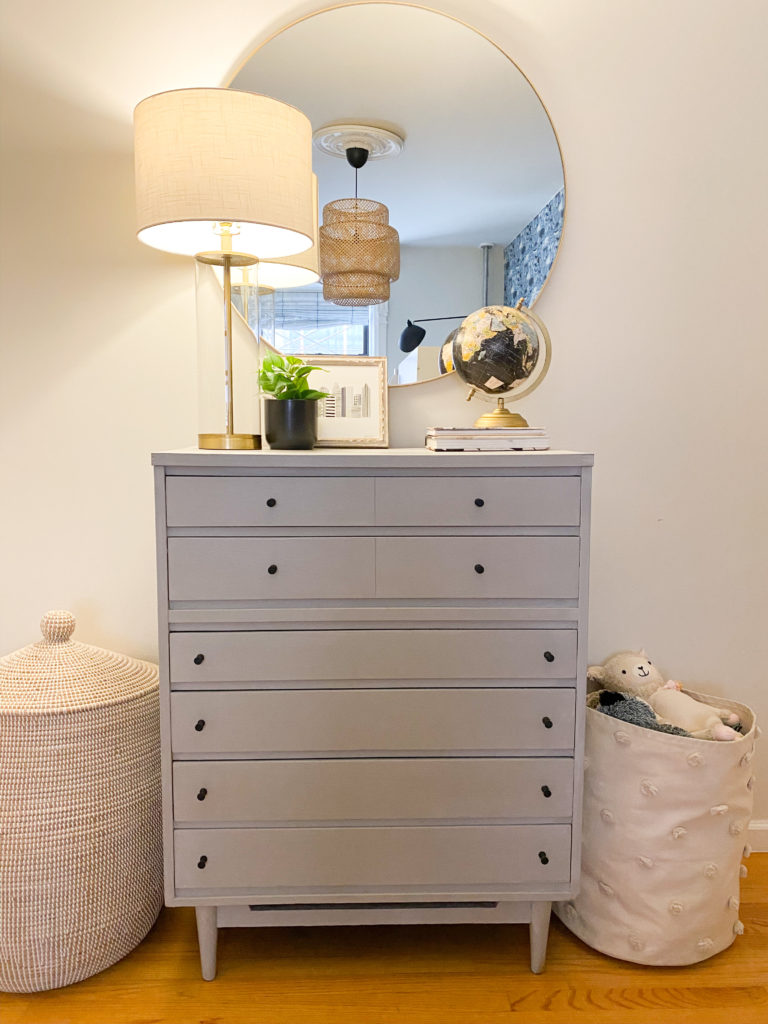
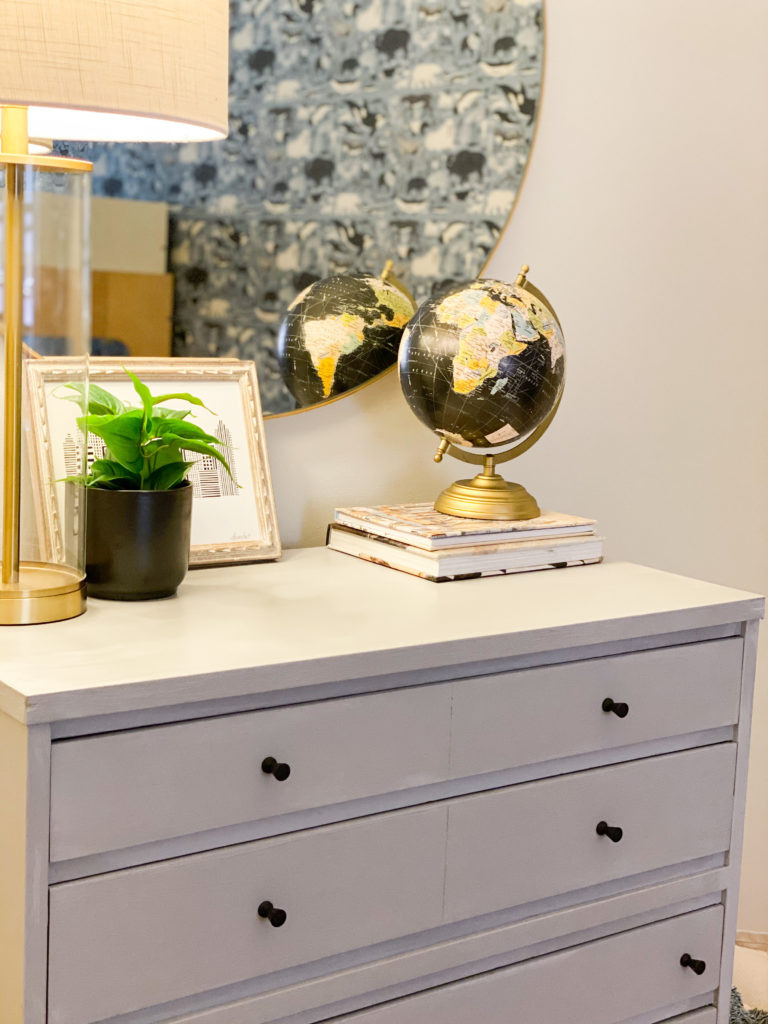
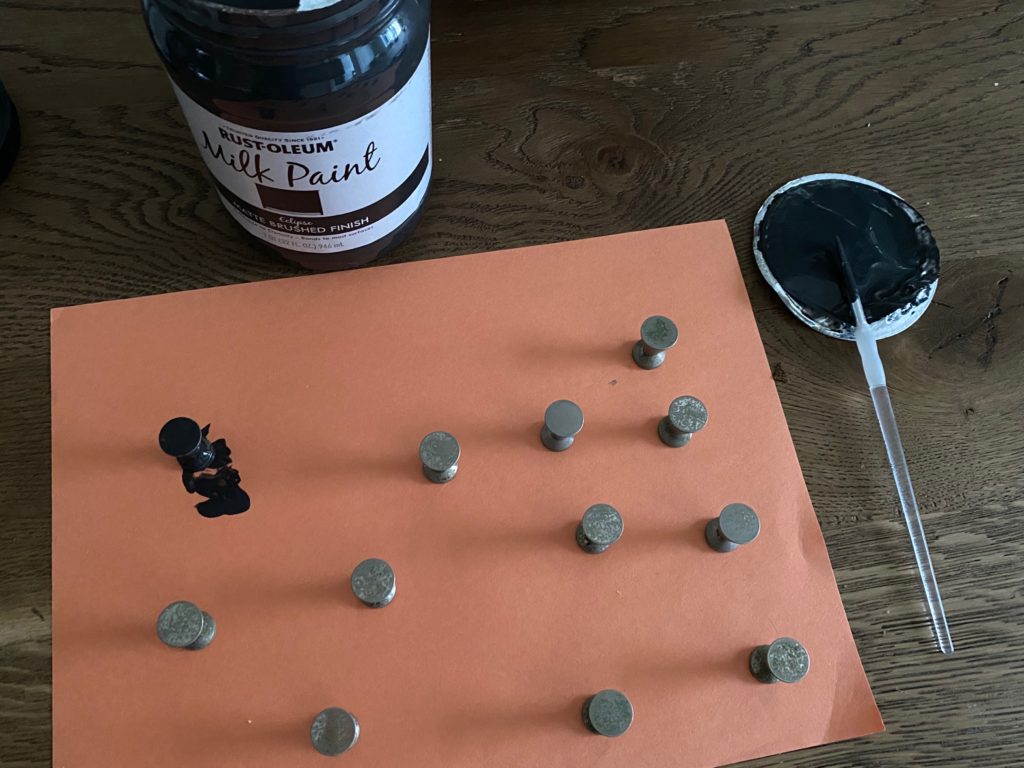
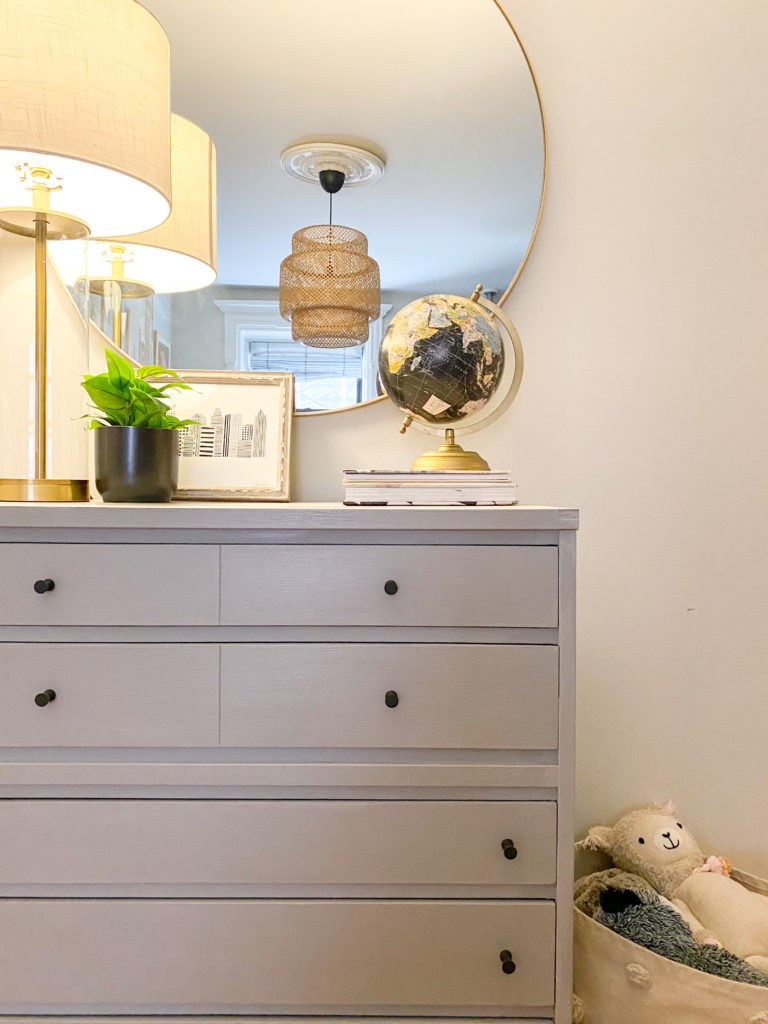
After purchasing hardware from home depot and giving it a try, (see below with the larger knobs, so BAD but sometimes it takes seeing it to rethink it) I decided to go back to the original knobs that came with the dresser. The new ones were way too big and overpowering. I decided to paint the orginal knobs black with chalk paint:
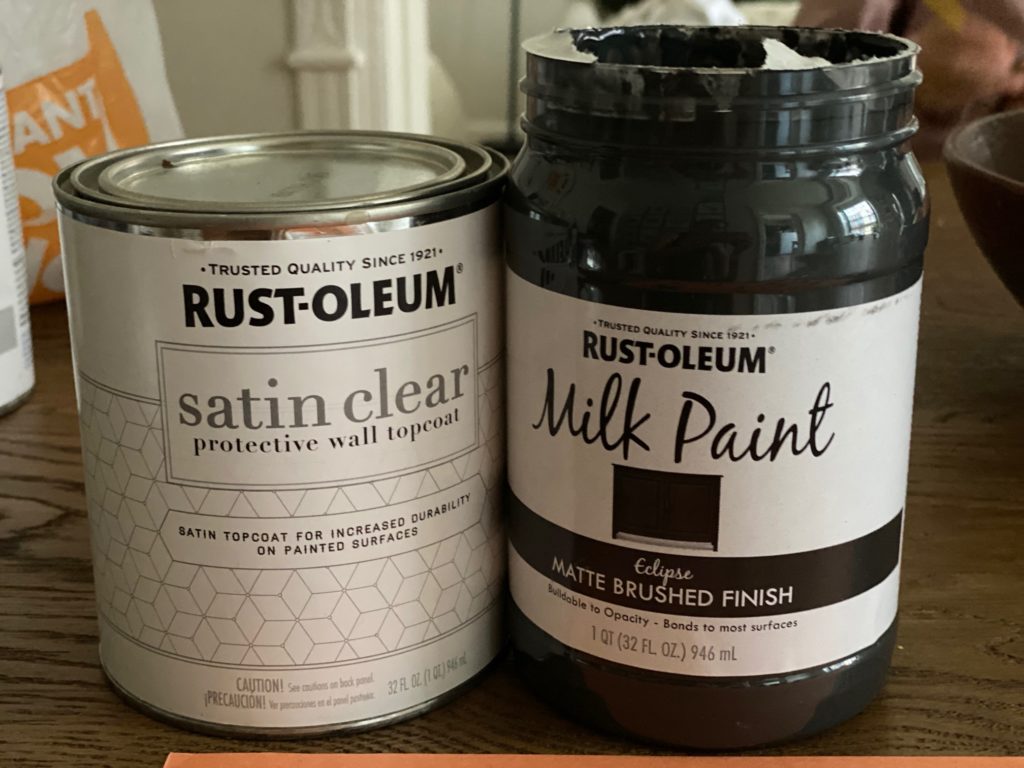

Products needed for this project:
- Matte chalk paint (I got the aged grey)
- Purdy paint brush (worth it to have a nice one)
- Satin clear coat
- Tarp to lay down to paint the furniture on (or I just used a piece of paper under each leg of the dresser, although I don’t recommend that if you have an old sheet or shower curtain to use that would be better than paper so it doesn’t stick to the furniture)
To start I made sure the dresser was clean, I wiped it down with Clorox wipes and dried it. Then I just began painting it. I did two coats of Matte chalk paint in the aged grey. I then put on two clear coats (both took only 1/2 hour to dry). Pretty easy and love how it turned out.
Thanks a lot for the post.Really thank you! Much obliged.