This desk was a facebook market find. I spent 3 weeks faithfully looking for a secretary desk that was under $100. I found this beauty for $55!
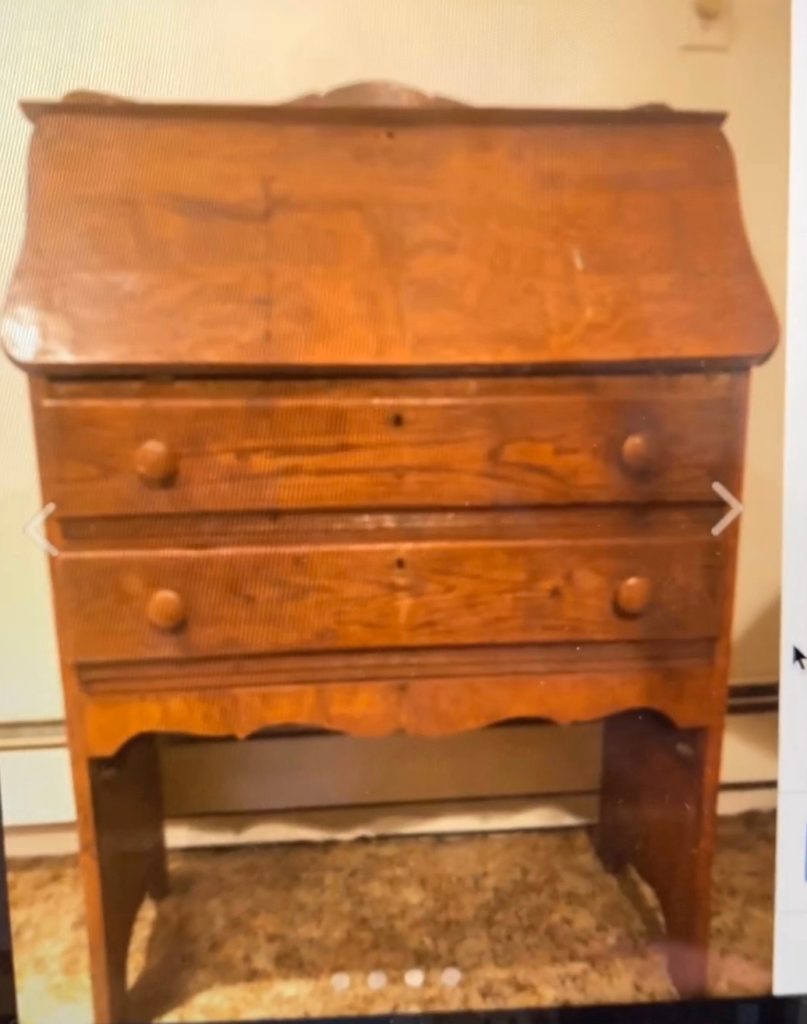
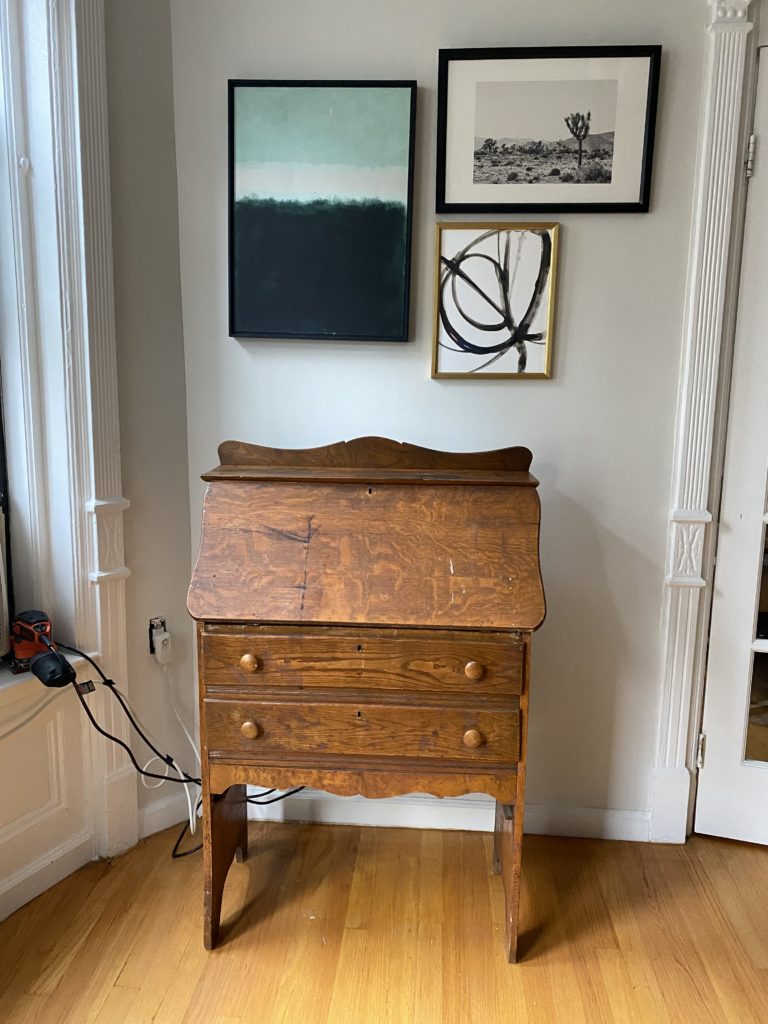
I drove 4 /12 hrs to get it and bring it home (the drive was supposed to be 40 min, traffic made it take a little longer, just a little ha). When I got there two of the hinges were broken that the seller didn’t notice at first so she gave me the desk for $25. I tried sanding it and stripping it (definitely NOT recommended in an apartment!) didn’t go over so well because some parts the desk are veneer wood. I really didn’t want to paint the piece, I wanted the warmth of wood in the room. After a few recommendations from you I decided to white wash the piece of furniture. It was super easy, and sharing mistakes I made that you can avoid.
The materials you need:
HOW TO:
- wipe down piece of furniture
- sand really well, with a mask on ( I wasn’t able to sand this down as much as I would have if I were outside but it will turn out more even and apply better if it is sanded down really well)
- wipe down after sanding
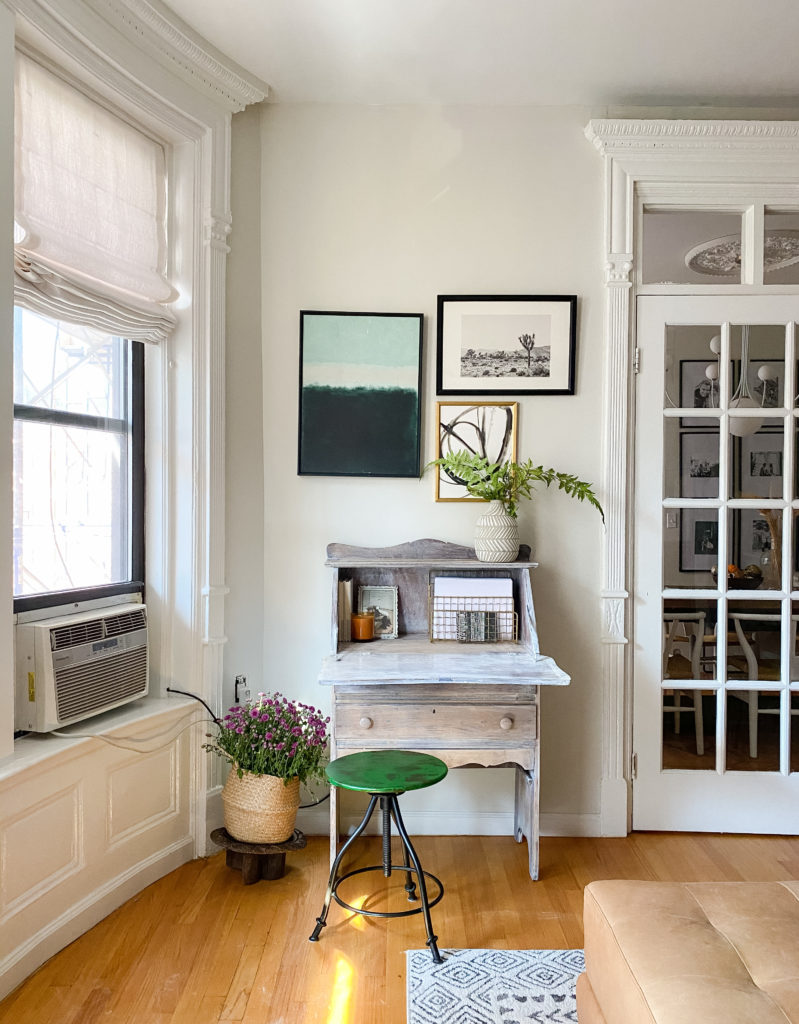
- lay down drop cloth (I did not have one and wish so bad I did because as you can see from pictures below I have some scrubbing to do to get the stain off the floor) take paint brush and start to apply, have a damp wash cloth to wipe down before the stain dries, let stain sit for about 5-8min! this is very important.
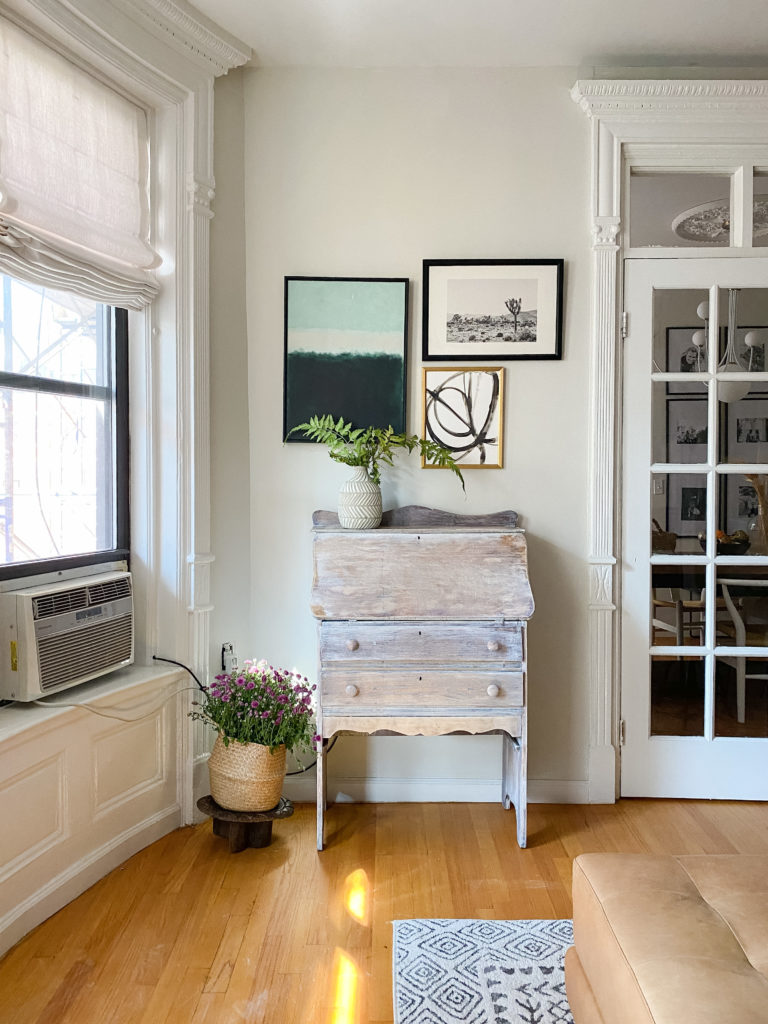
- I put 3 coats on to get the finish I wanted. Paint, wipe, repeat until you get the desired finish you’re looking for.
- You can always add a finishing coat to it if you want to seal/protect it (I decided not to for this project, because I am a risk taker like that haha).


I absolutely love when you guys get inspired and do projects in your own home please feel free to share them with me through a DM on IG or tagging me. Thank you for being here!