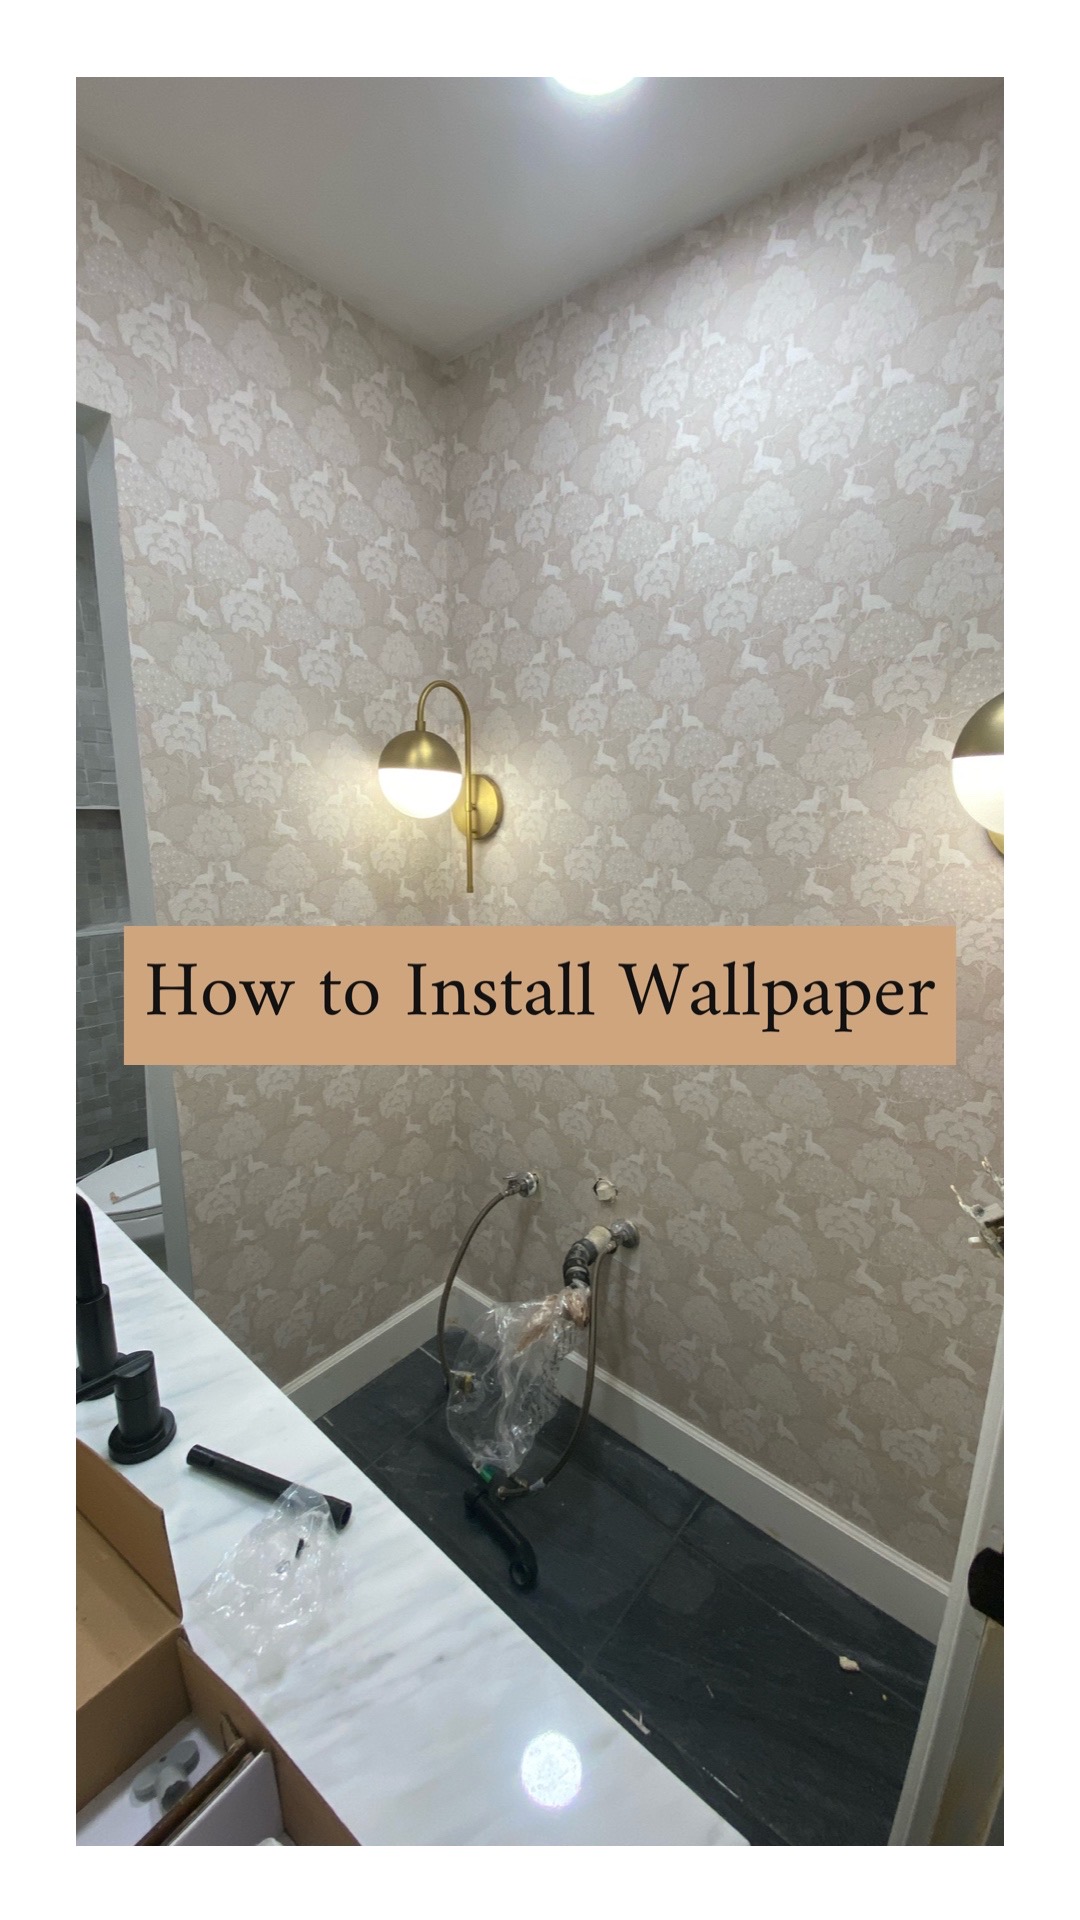
Installing traditional wallpaper can be intimidating although it is not especially when you have all the right tools (which are also pretty simple). We got this beautiful wallpaper from Chasingpaper. It is traditional wallpaper but they also have some darling removable paper options as well. I tackled this project with the help of my aunt which definitely makes it easier to do with two people although the next day I finished it by myself and was able to do it. If anything it just takes time and patience.
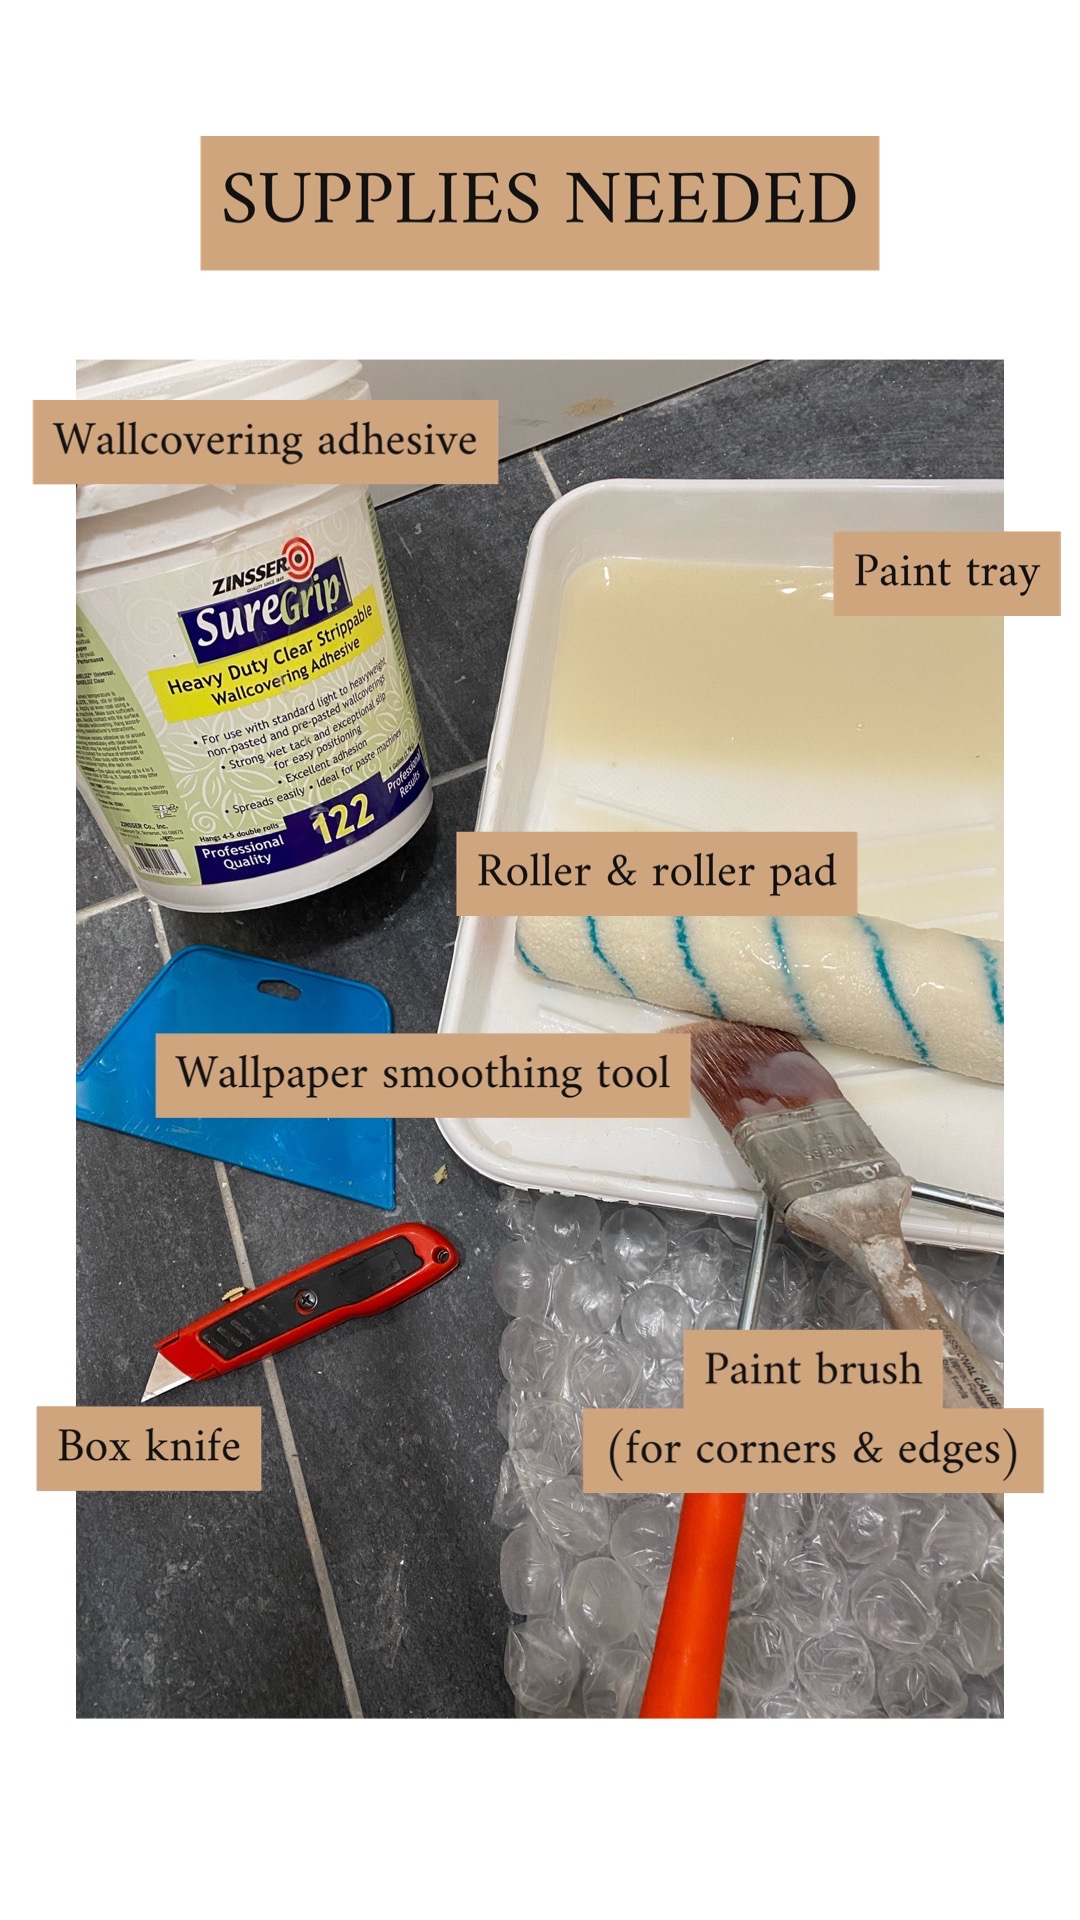
Wall paper paste | Wallpaper smoothing tool (kit) | (and of course the wallpaper you choose to use)
step 1
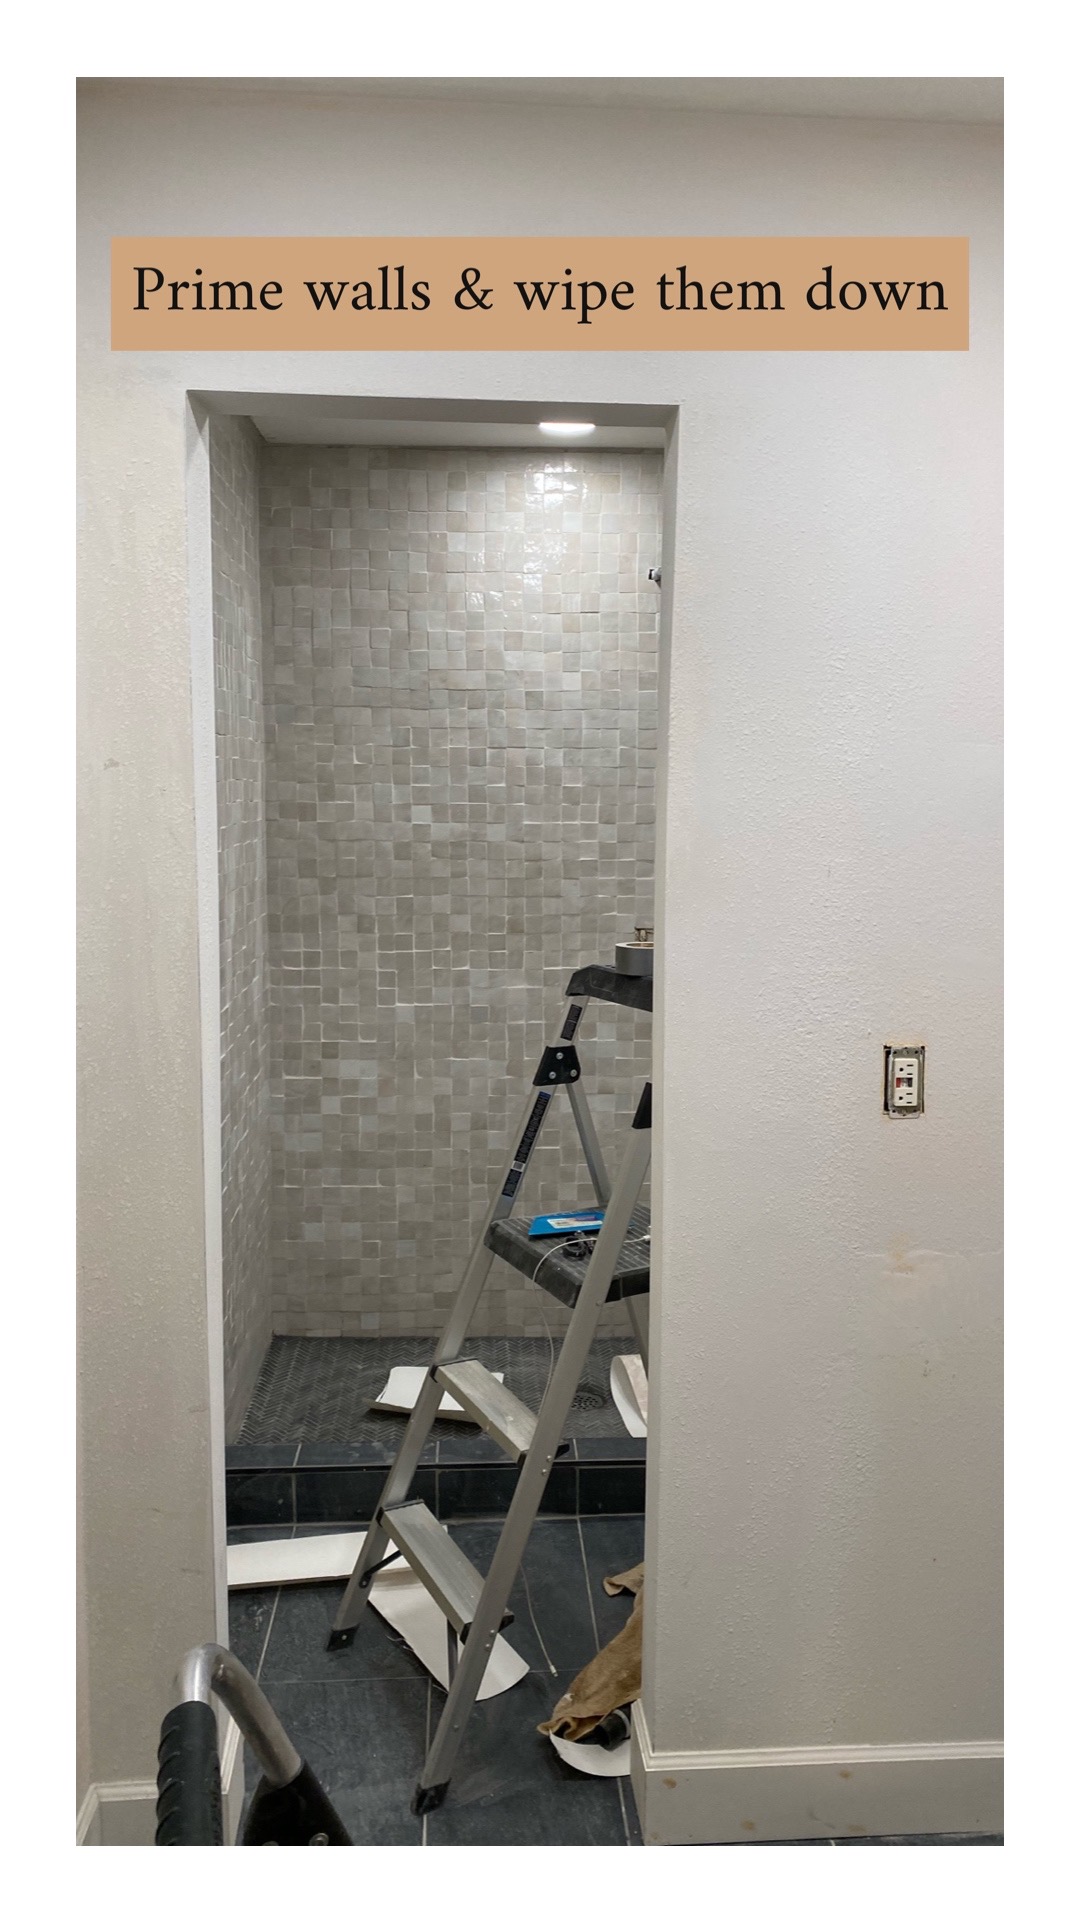
Make sure the walls are ready before applying the wallpaper. Any bumps, or imperfections will most likely show through the wallpaper. Our walls our slightly textured which did show through on the paper but not bad at all!
step 2
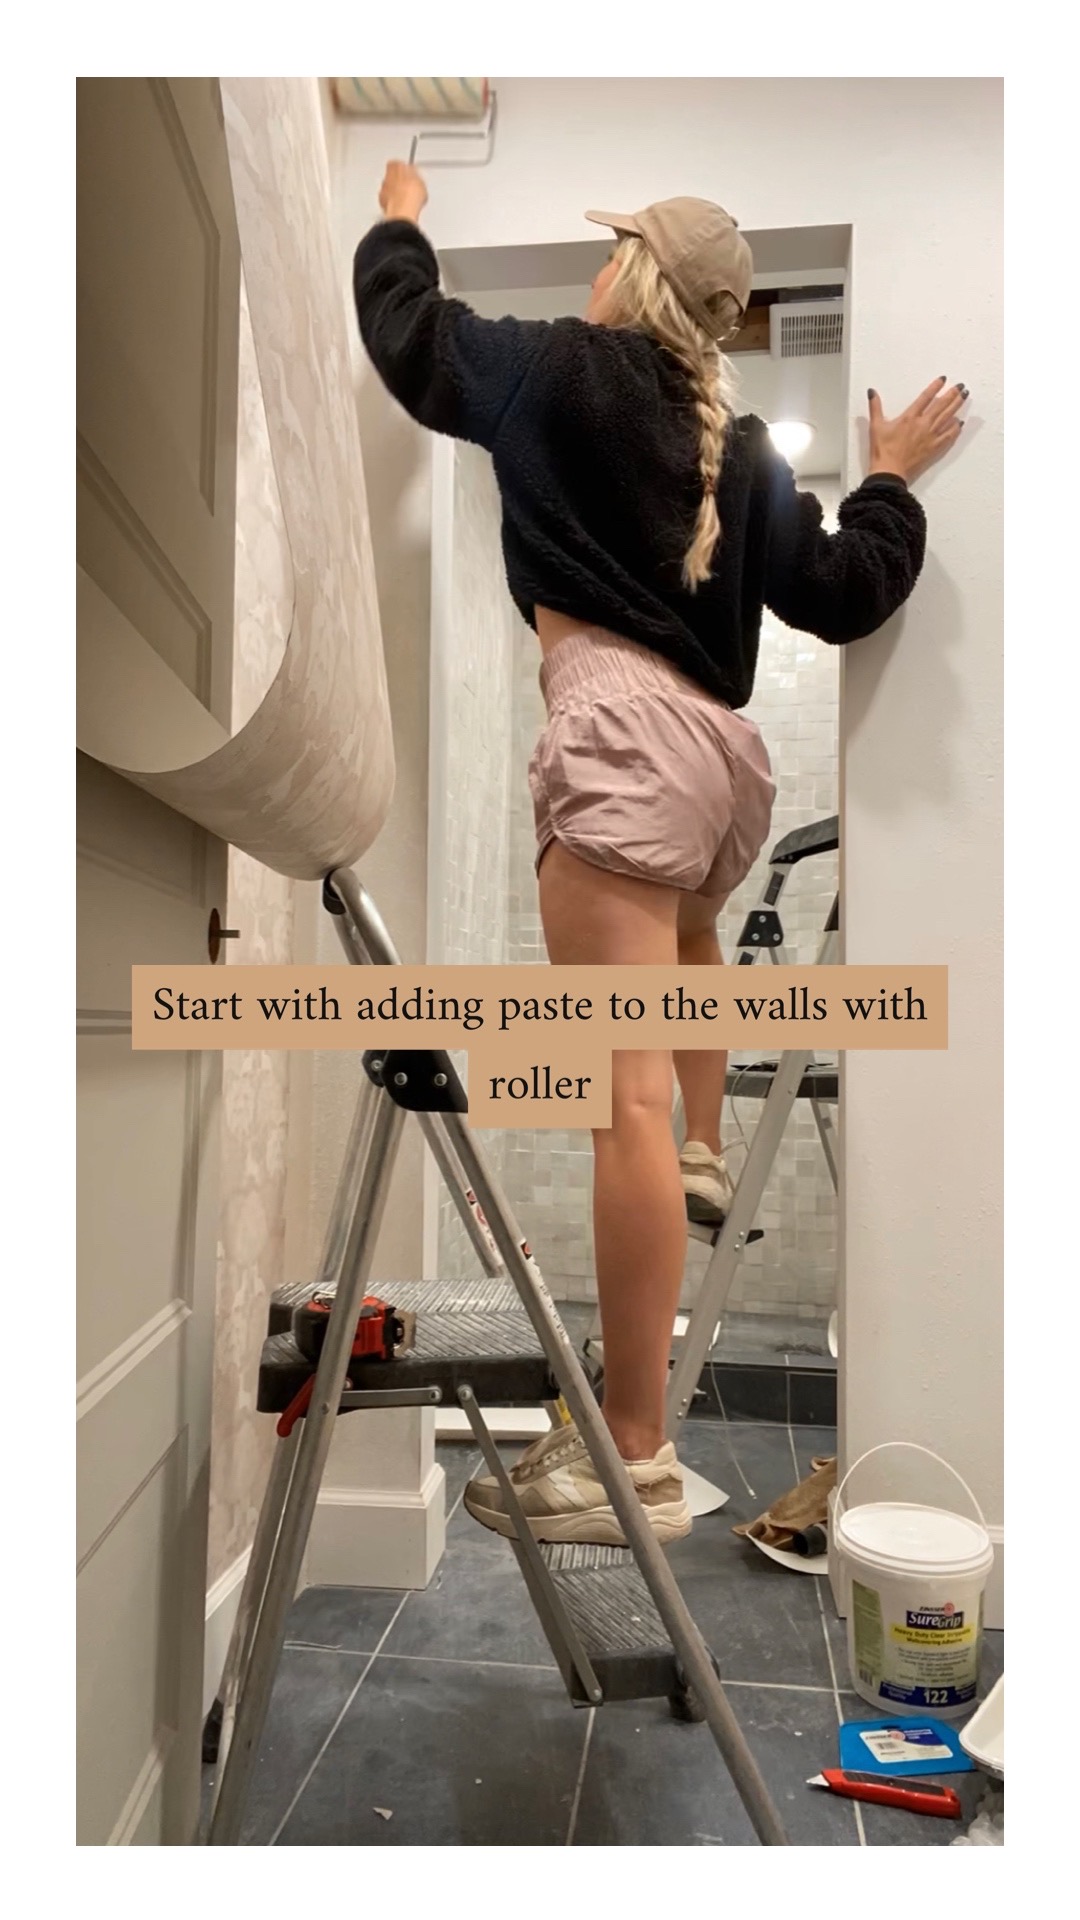
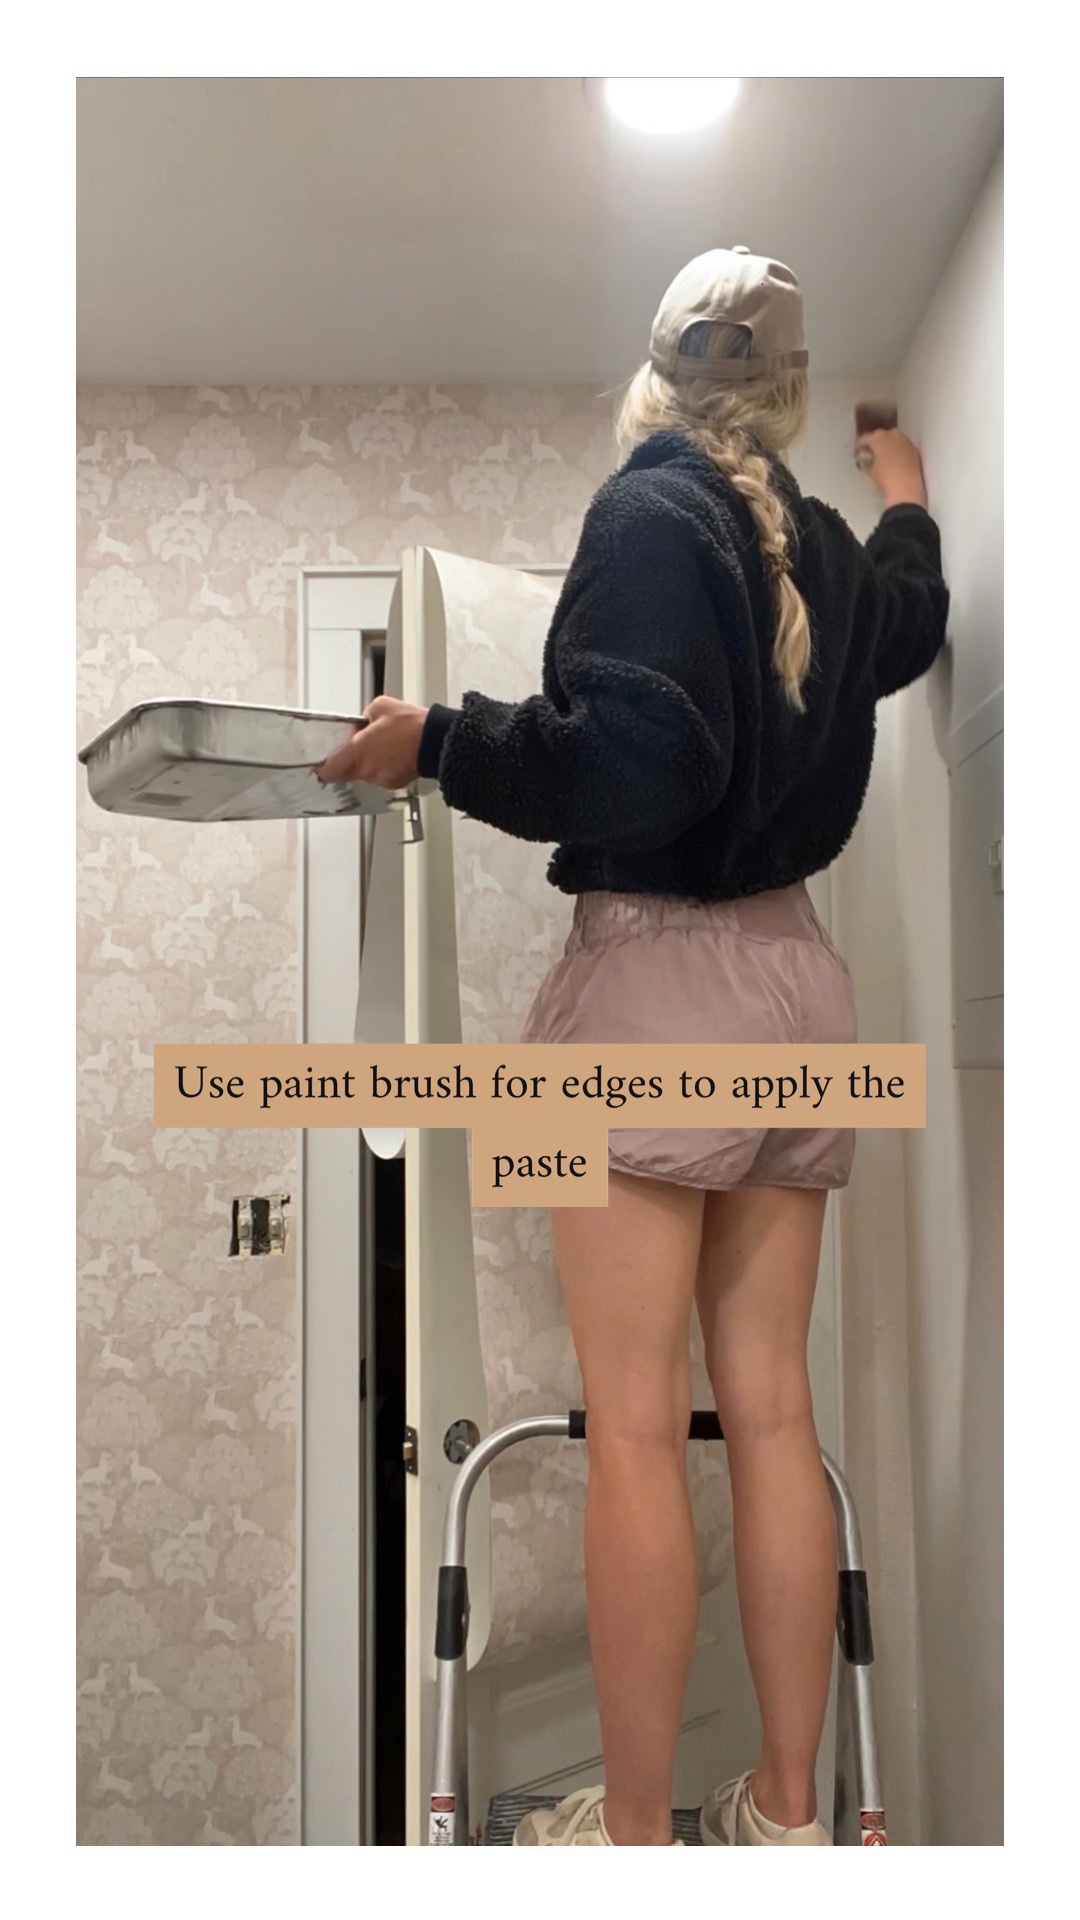
Dump the wallpaper paste into a paint tray/cover and just roll in like you would paint, be generous with the amount you get on the roller. Roll onto the wall, for edges, and corners use the paint brush.
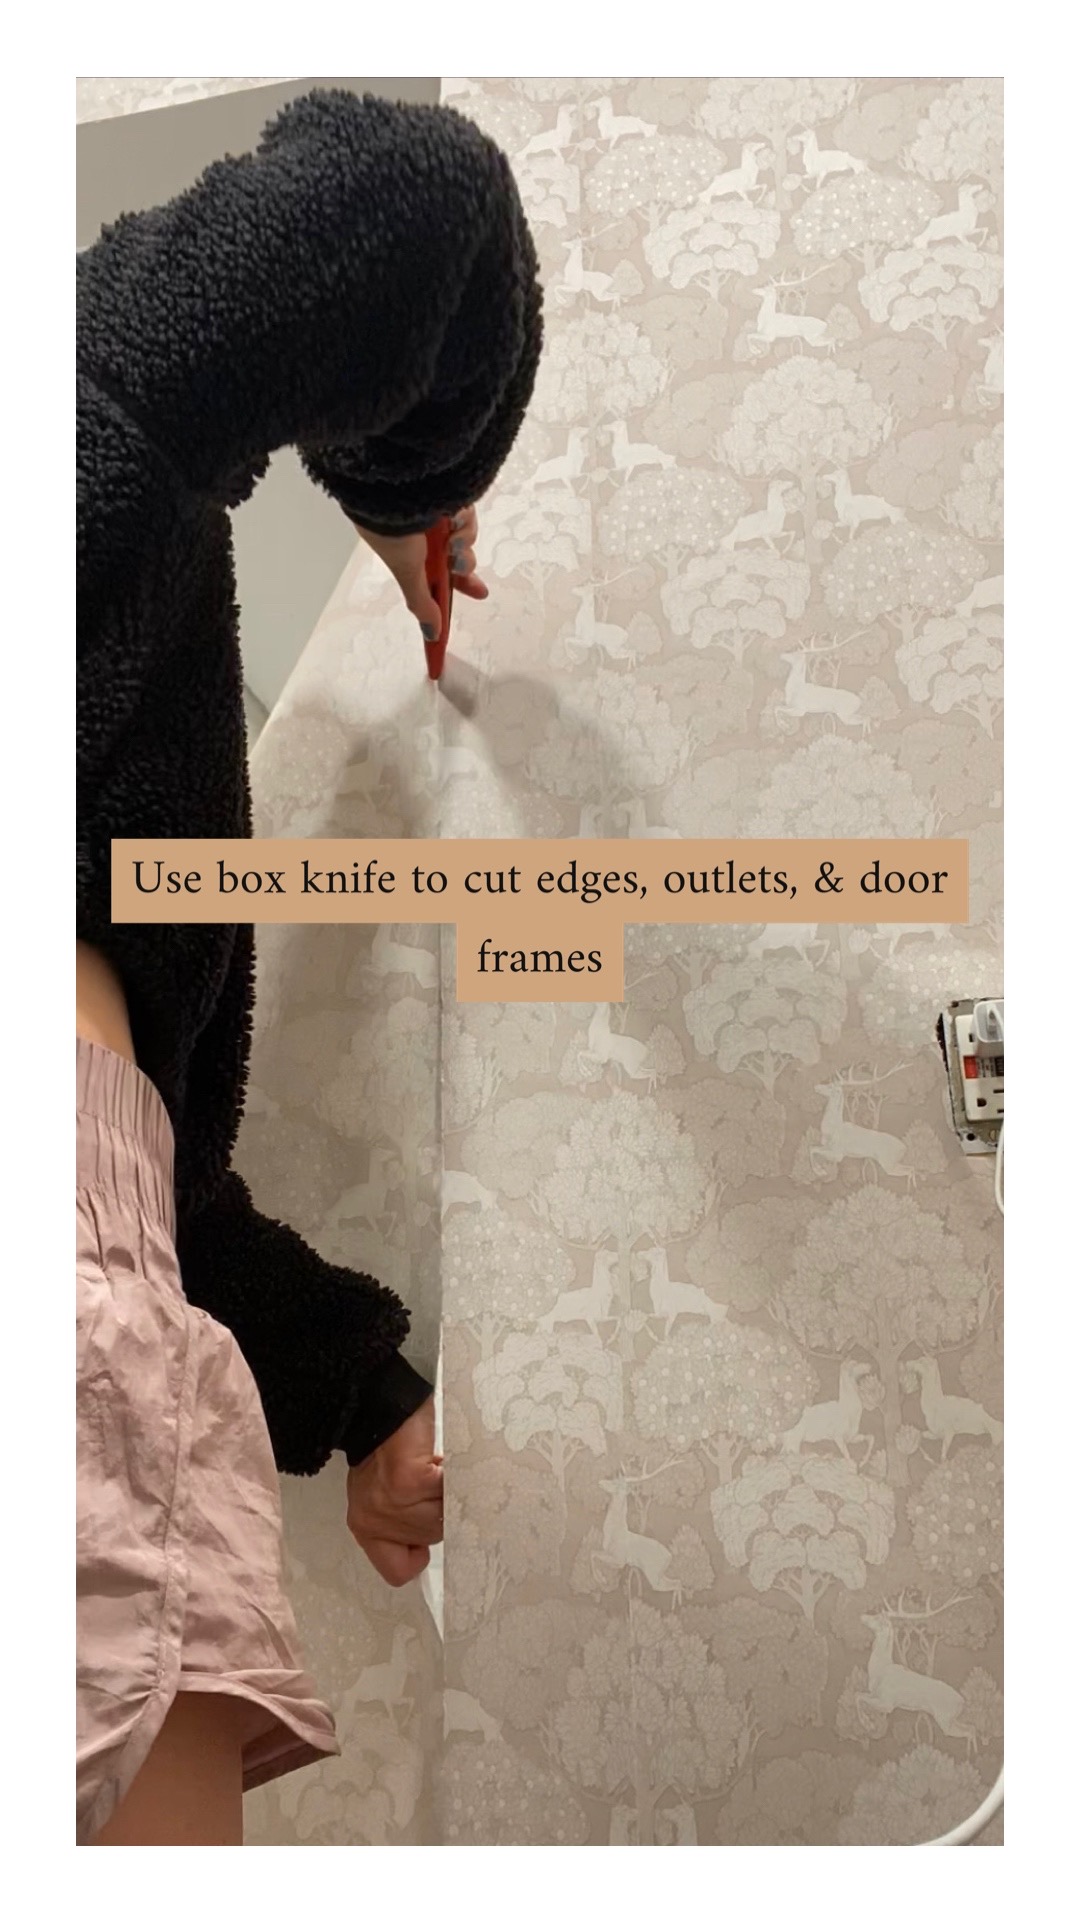
step 3
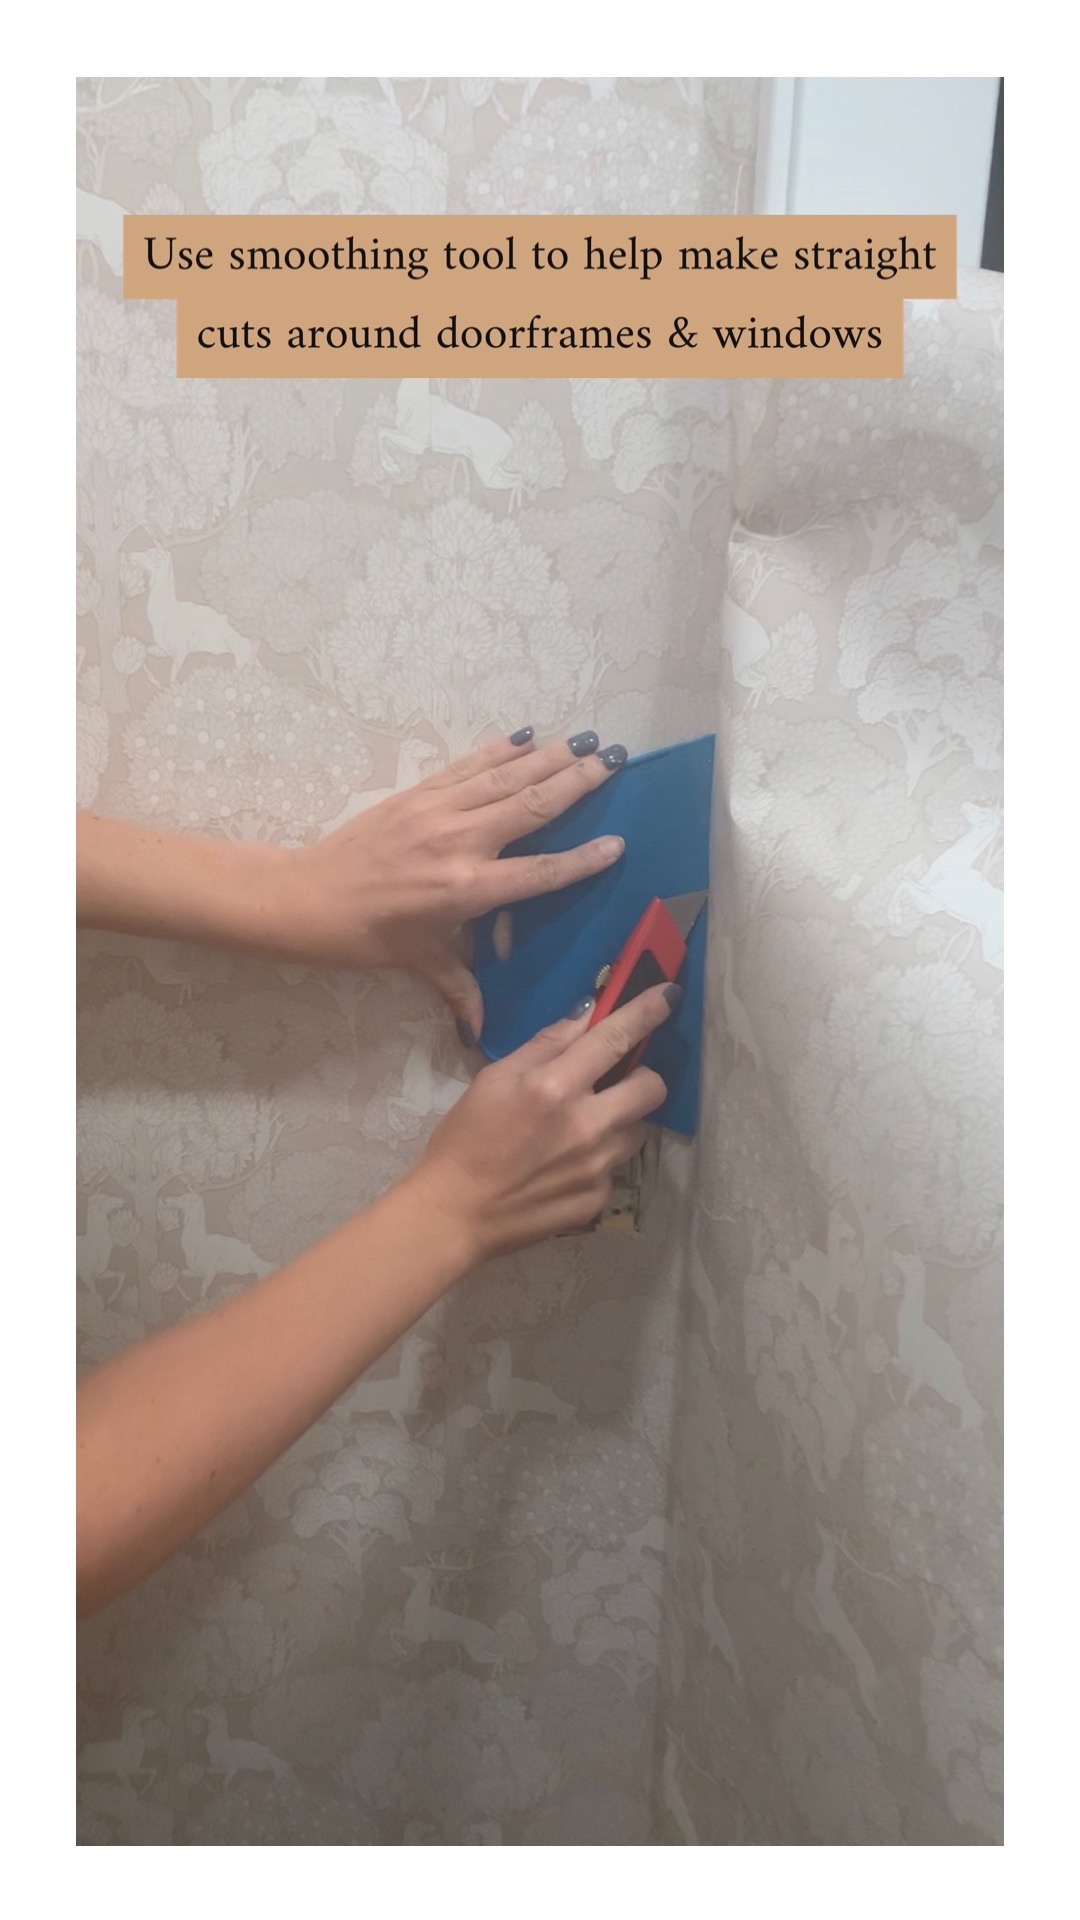
Use the wallpaper smoothing tool to go over the wallpaper once it is on the wall to smooth out any lines. The nice thing is it takes a little bit of time for the wallpaper paste to dry so you can move the paper around once you apply it to the wall. Once in place use the box knife to cut around the door frames, outlets, etc. just go slow and steady.
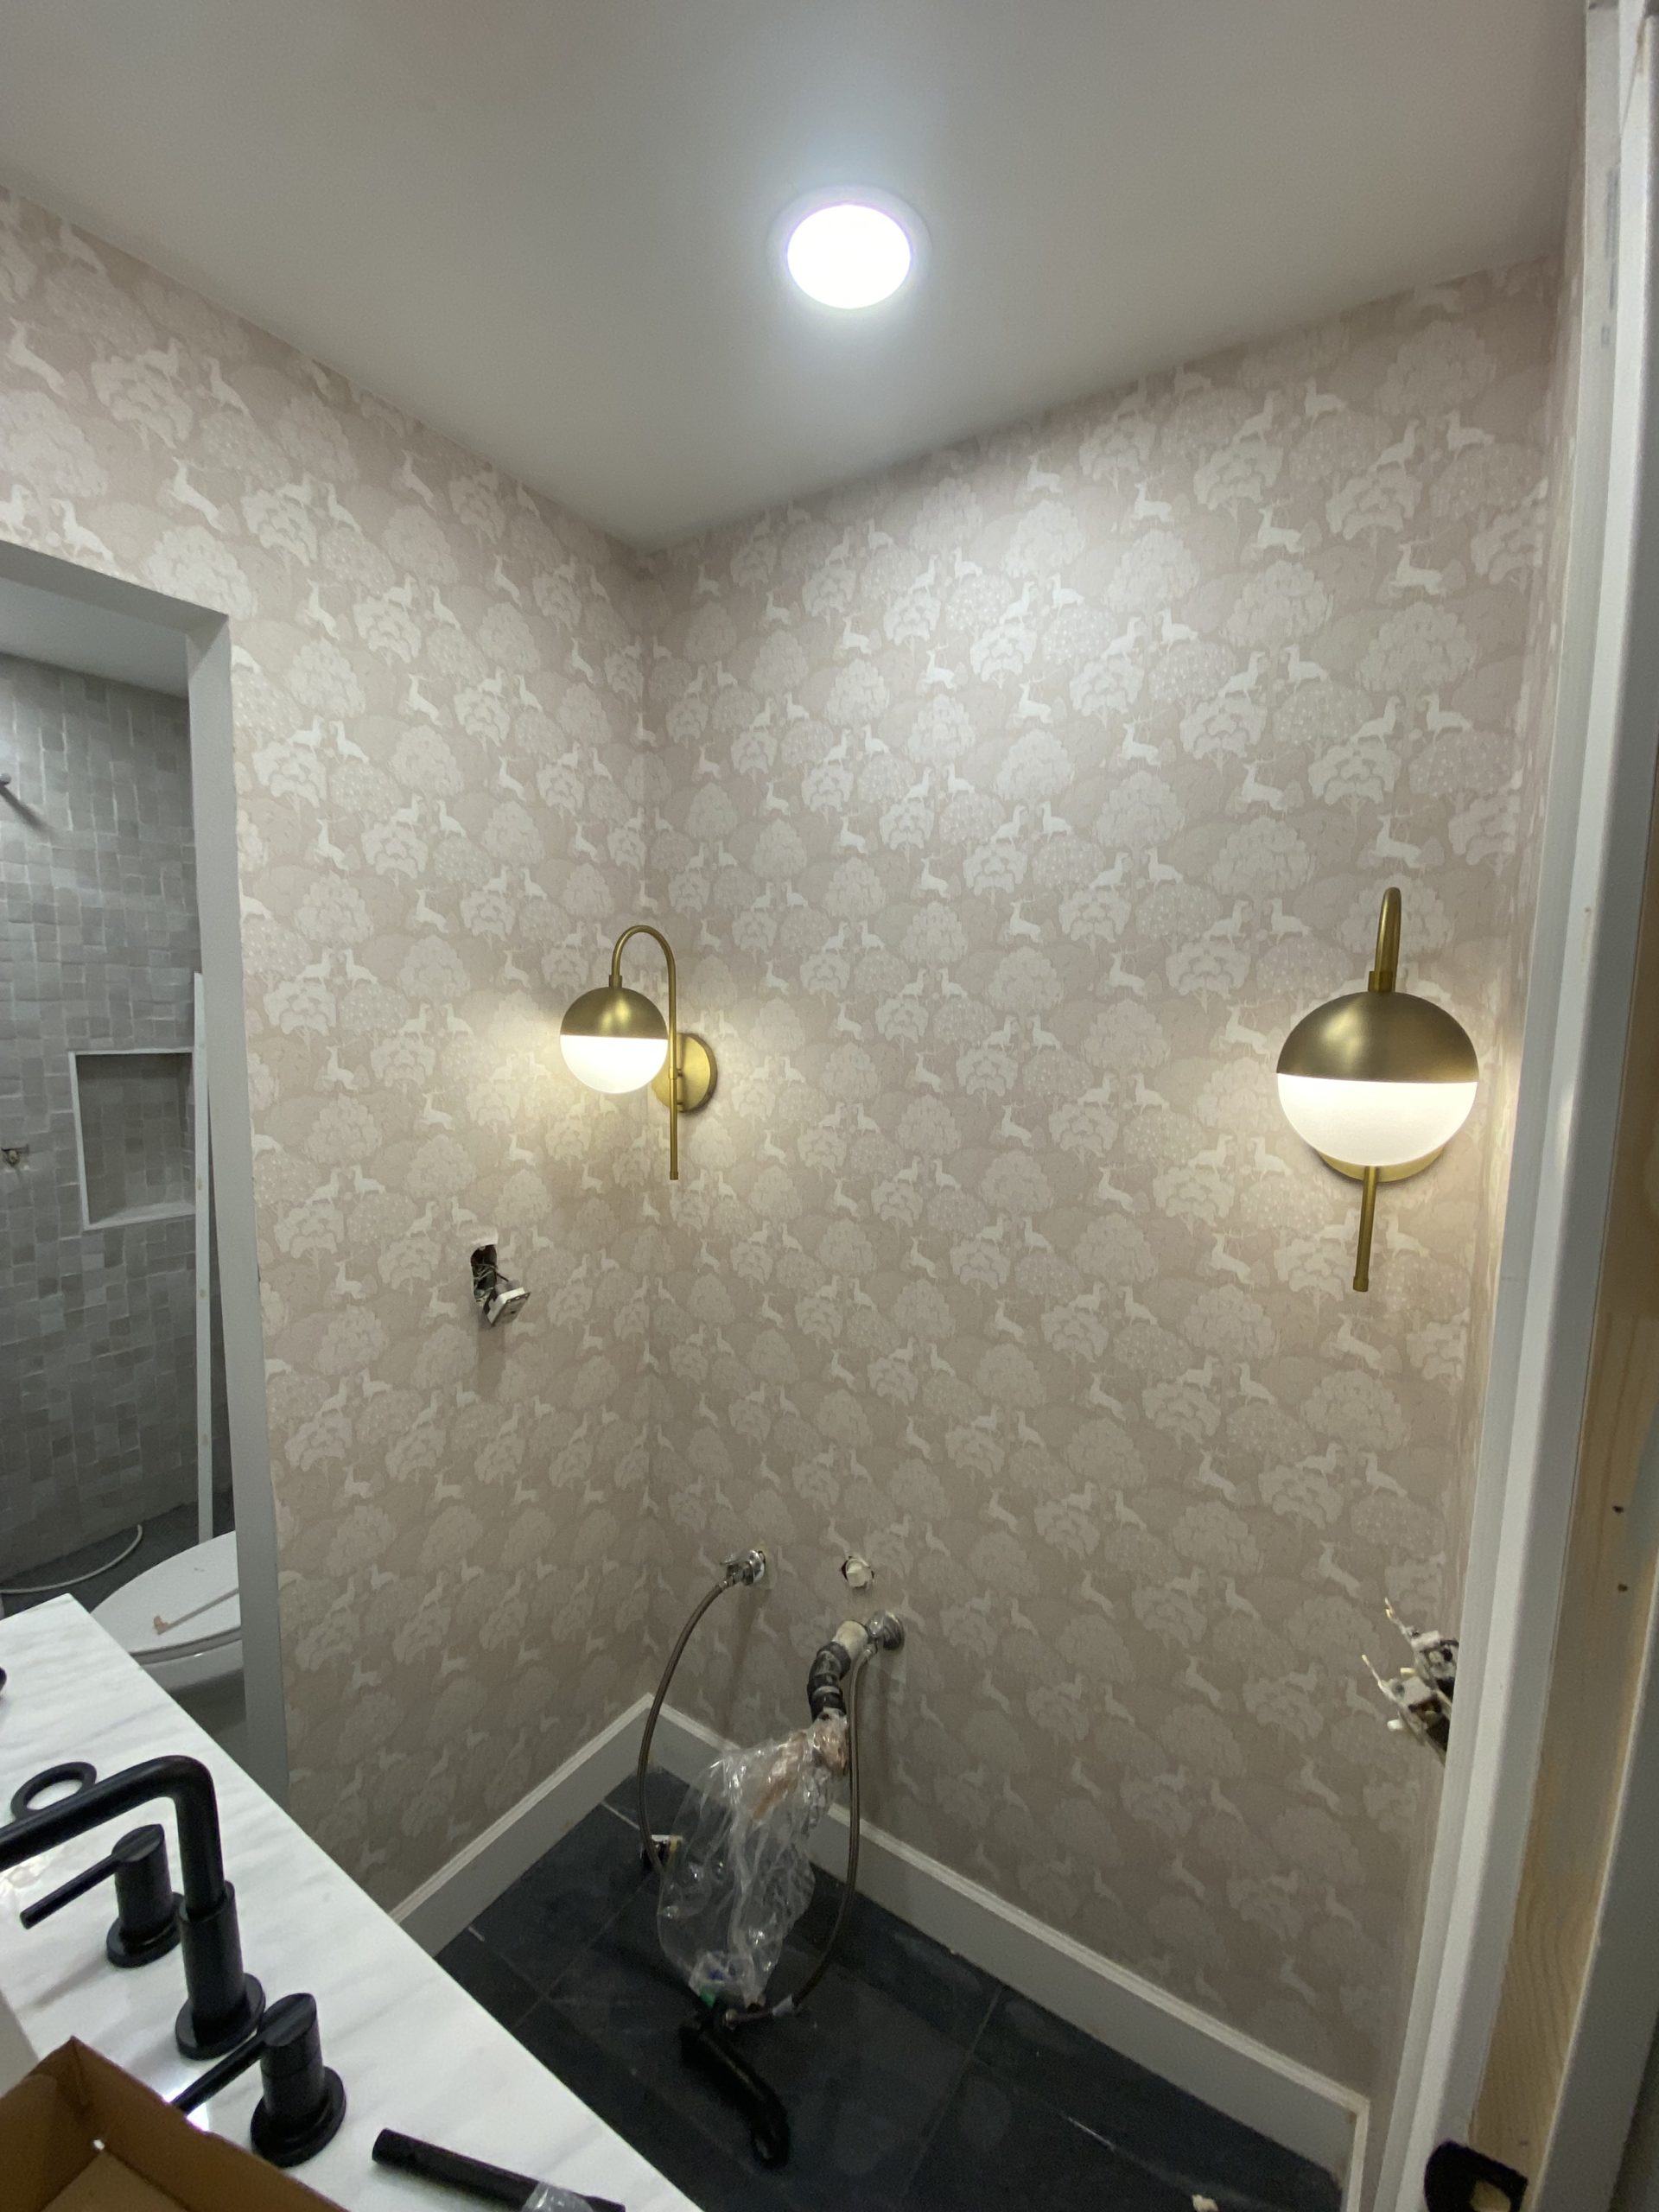
That is it! It took hours but that was just making sure the print matched up, and lines were smoothed out. Here is it all started! See how much the wallpaper elevated the space??
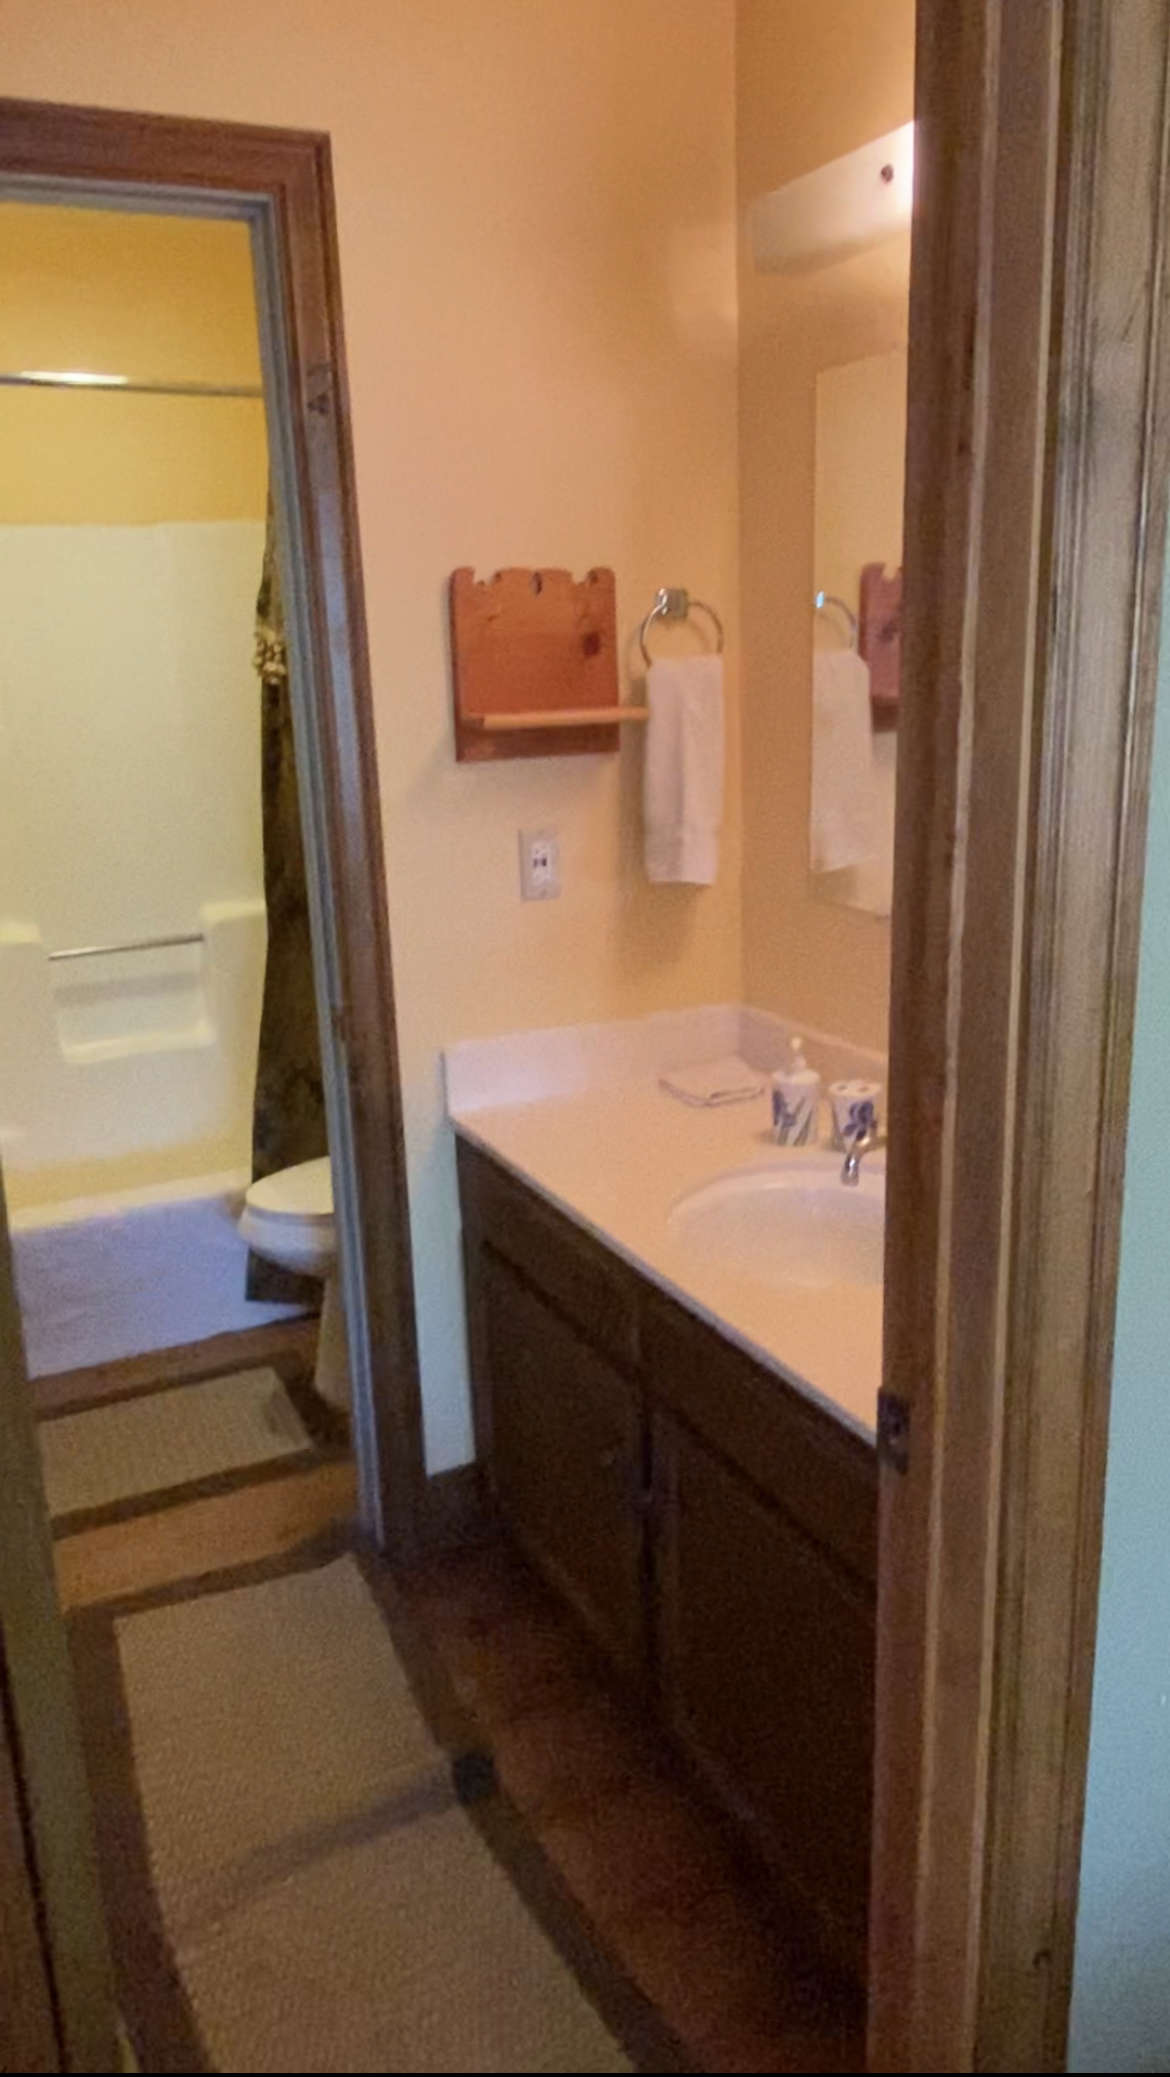
before & after:
You can watch the reel & highlight of the wallpaper in action on my IG page HERE.